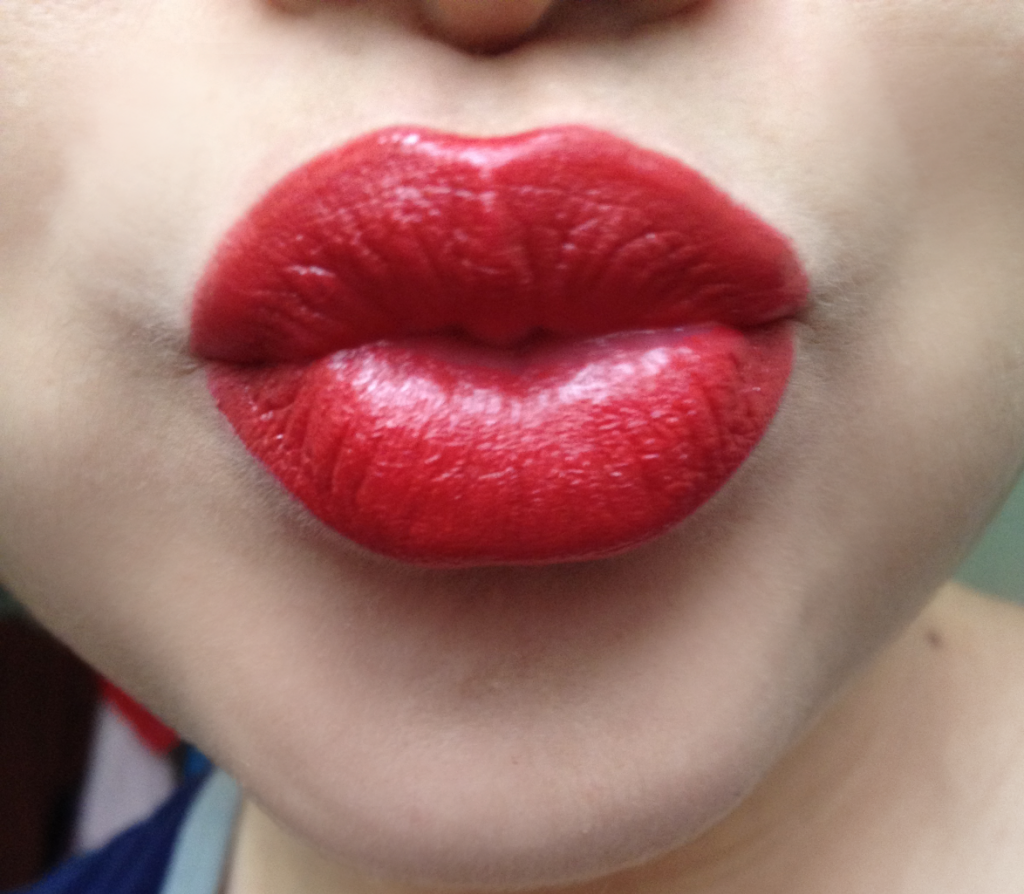
With the holidays coming up, let's talk lipstick: red lipstick. I have another 10 step tutorial for you: how to apply red lipstick neatly, that lasts for at least a few hours! I also have a secret to share to prevent the lipstick from bleeding, so keep on reading!
I can't say it enough: every girl needs at least one red lipstick in her stash! A woman is made to wear red lipstick. It's classy, classic and sometimes sexy. Now with the holidays coming up, I suggest you take out that red lippy and start spicing up your makeup look!
Tips before starting
Before we start painting our lips red, make sure your lips are looking silky soft! Red lipstick accentuates any imperfections on the lips. So scrub your lips before you start and moisturise those pretty lips!
Start with doing your makeup and save the lips for last. Red lips look best on a clean canvas, so focus on your skin. Remove any redness and imperfections. Redness is more obvious while wearing red lipstick.
Don't be afraid to wear red lipstick. If you think it doesn't suit you, you're wrong, girl! Every skin tone needs to be matched with a different red lipstick. A blog post about this will come soon. So paint those lips and feel and look sexy, missy!
If you want to know what lipstick suits you best, find out what your undertone is. Or let someone at a cosmetic counter match you up! I, for example, have a skin with yellow/gold undertones, so I need a lipstick with blue undertones to compensate that.
Step 1
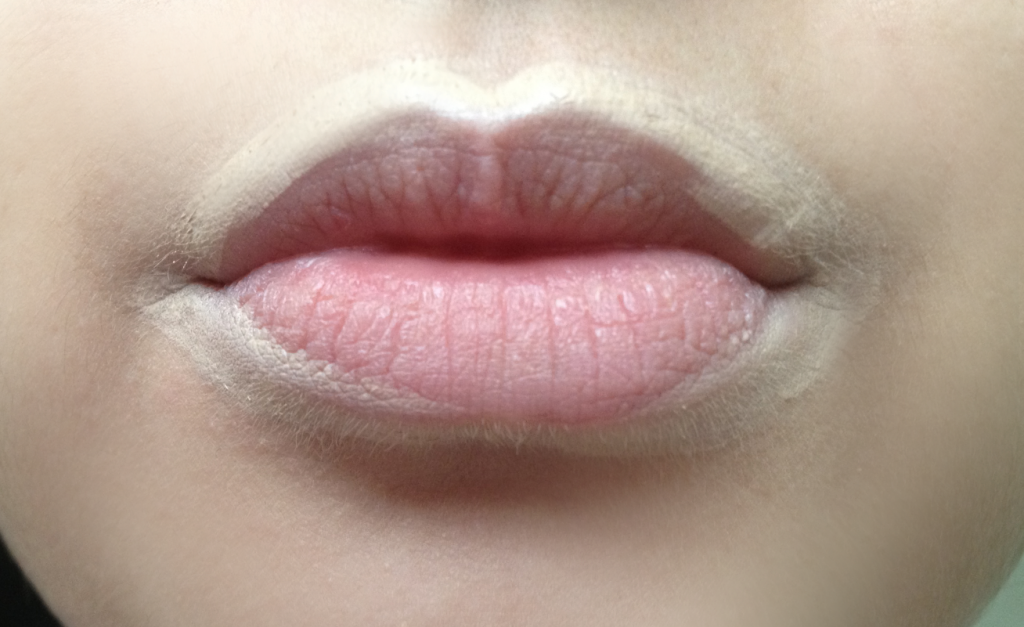
After you applied foundation and the rest of your makeup, apply an extra layer of concealer around the lips. By doing this, the lipstick will last a little longer and your lips will look more plump and defined.
Step 2
Dab the concealer in and around your lips with your ring finger until you can't see it anymore.
Step 3
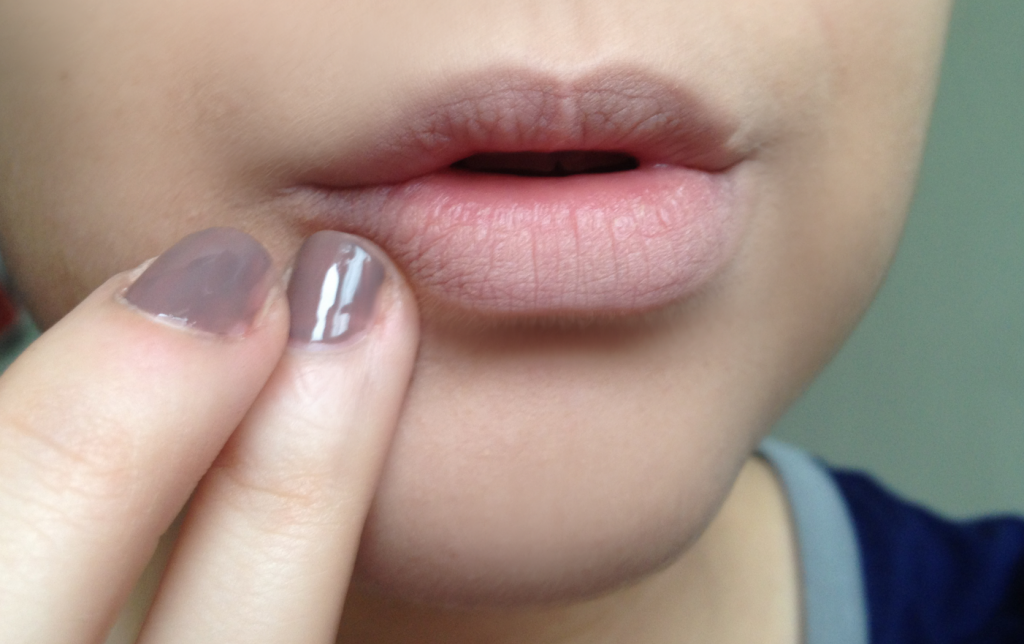
Here's my secret to help your lipstick lasts longer, without bleeding! Apply eyeshadow base around your lipline. Yes, you read it right: eyeshadow base. Eyeshadow base usually prevents your eyeshadow from creasing, but by using it around your lips, you can prevent your lipstick from creasing (bleeding)! Again, dab it with your ring finger, until you don't see it anymore.
Step 4
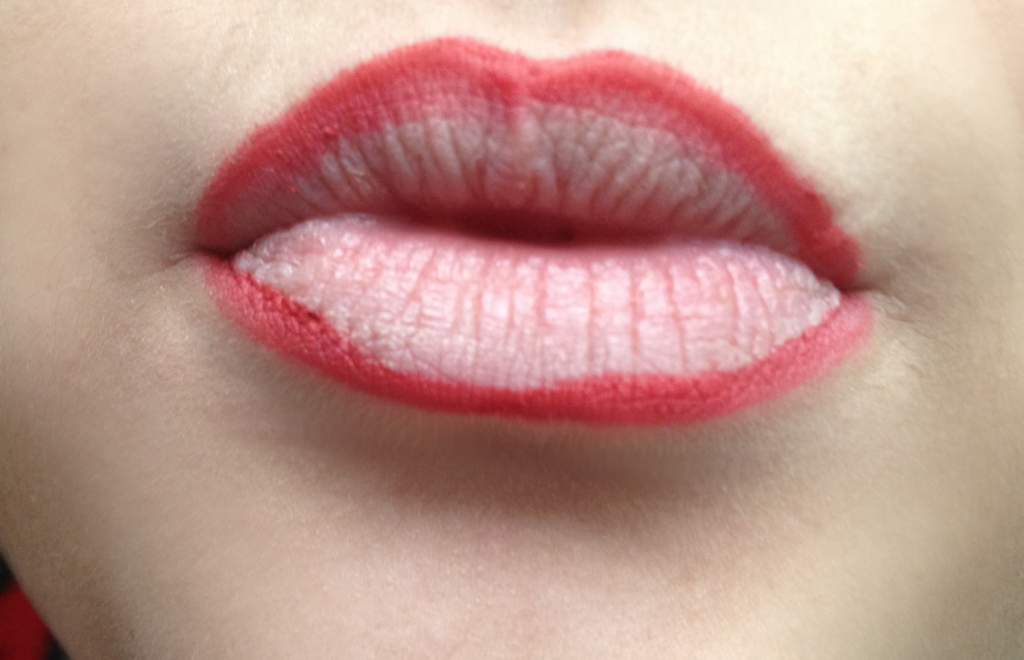
Line your lips with a red lip liner; the same red as the lipstick you're going to use. Sharpen your pencil, so you can make a straight line. If you messed up, remove it with a q-tip with a little makeup remover on it. Try to line your lips neatly, but it's okay if it's a little messy. We'll fix this later. As you can see, I didn't focus on putting the lipliner neatly on the inside, but that's okay since you're going to fill your lips in anyway.
Step 5
Colour your lips with the lip liner. By the way, as you can see, I've made my lips a little bigger with the lipliner. If you have small lips like I do, red lipstick gives you the opportunity to fix this! However, make sure you use a lipliner that stays. Otherwise you'll end up looking like the Joker and we don't want that, do we?
I also draw a bit outside my lipline, because my lips are uneven. Even the left and right side of my upperlipe are uneven. I have a scar on my lip, which causes this. So I have no choice but to go outside my lipline!
Step 6
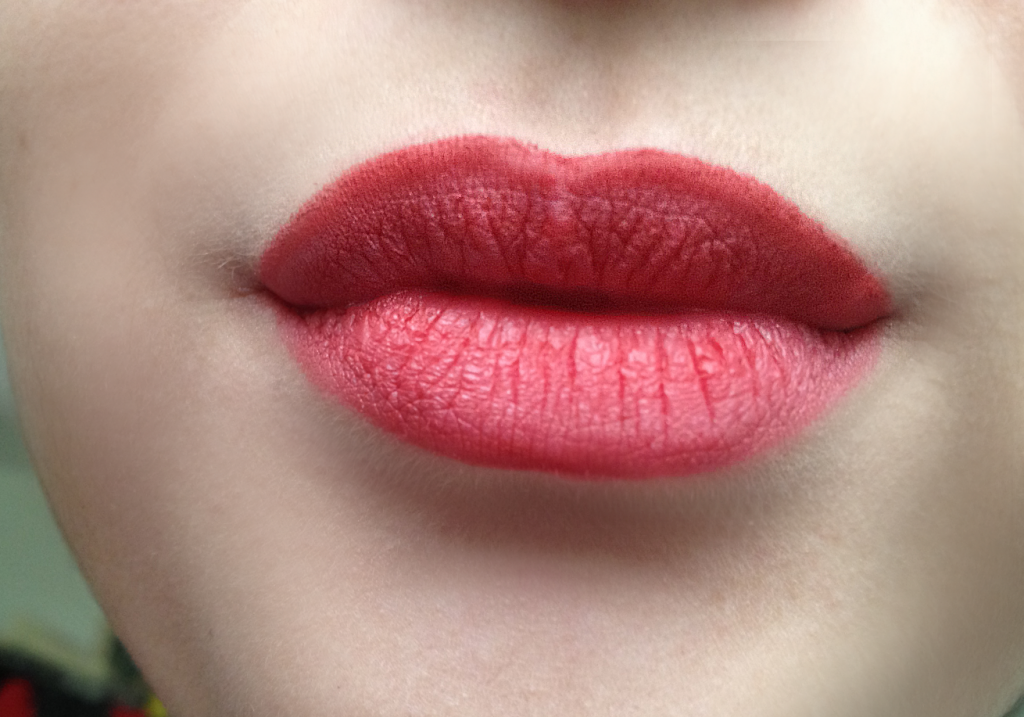
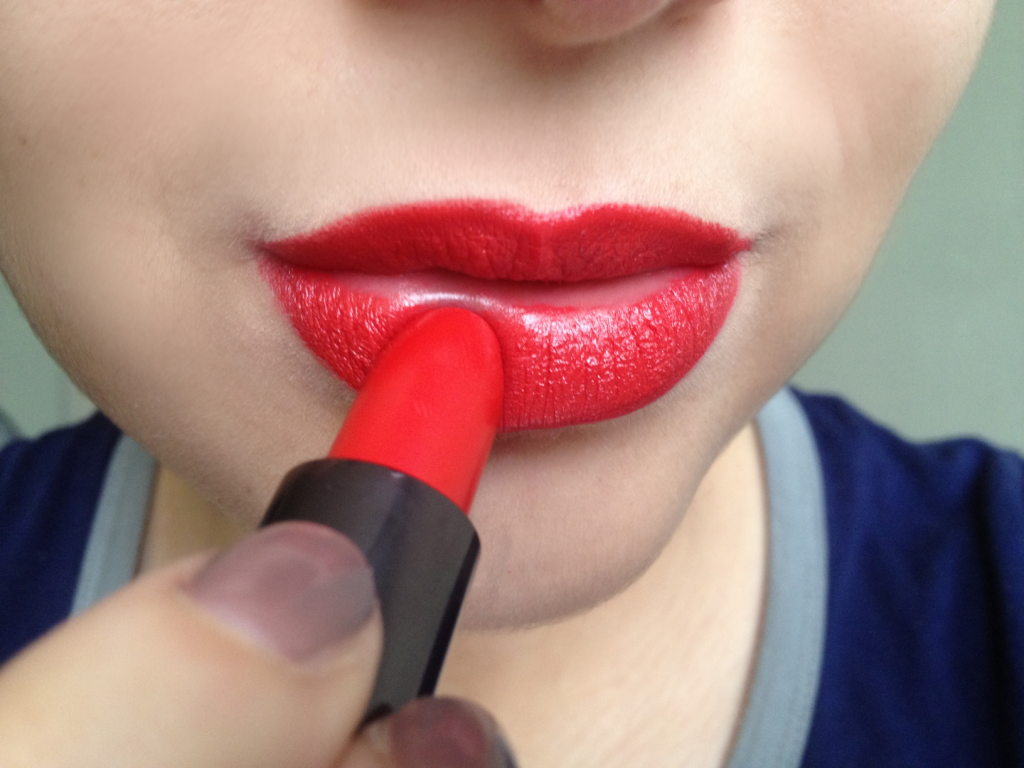
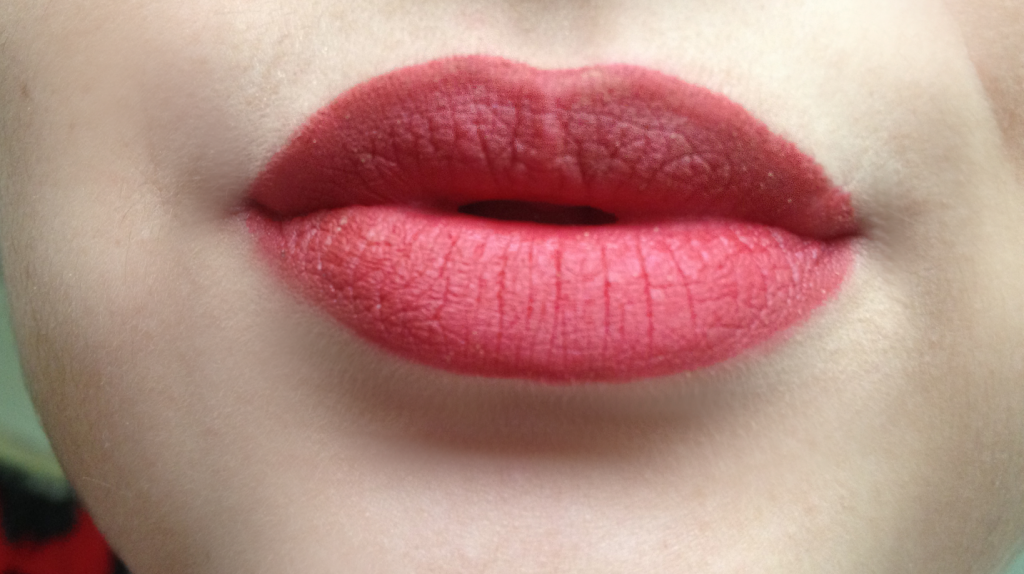
Colour your lips with your red lipstick! Here I'm using Shiseido Perfect Rouge in RD 415. Click here to see the review.
It should look something like this, now. Hold on, we're almost done!
Step 7
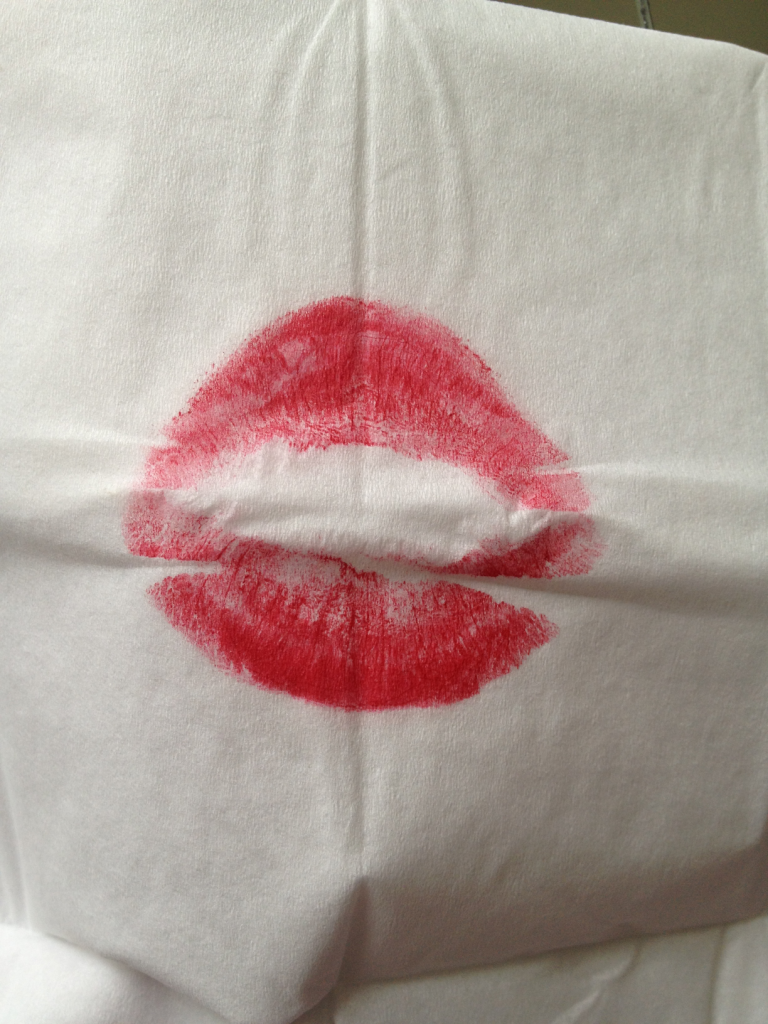
Take a paper tissue, fold it in half and blot your lips.
Step 8 - Optional -
To make your lipstick last even longer, gently apply some compact powder over your red lips.
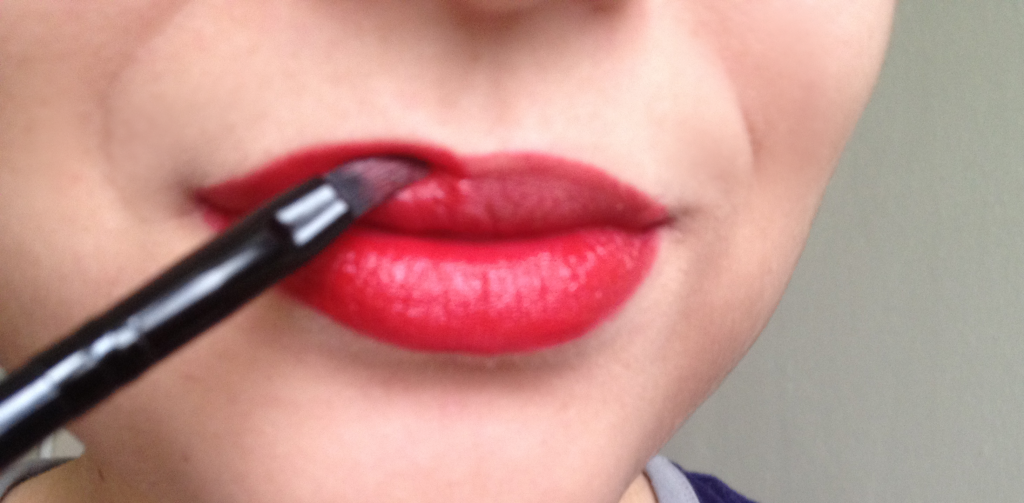
Step 9 - Sorry for the blurry photo! -
Apply another coat of red lipstick. This time use a small brush, if you have one, so you can apply really precise.
Step 10
I forgot to take a picture of this! When you're done with the steps, there's a way to make your lipstick appear really neat! Take a small brush, another one than the one you used in step 9, and gently apply concealer around your lips. Be careful not to touch your lips! Because if you do, you will blend red lipstick through your concealer and that will look messy. Anyhow, apply the concealer and carefully blend it around your lips.
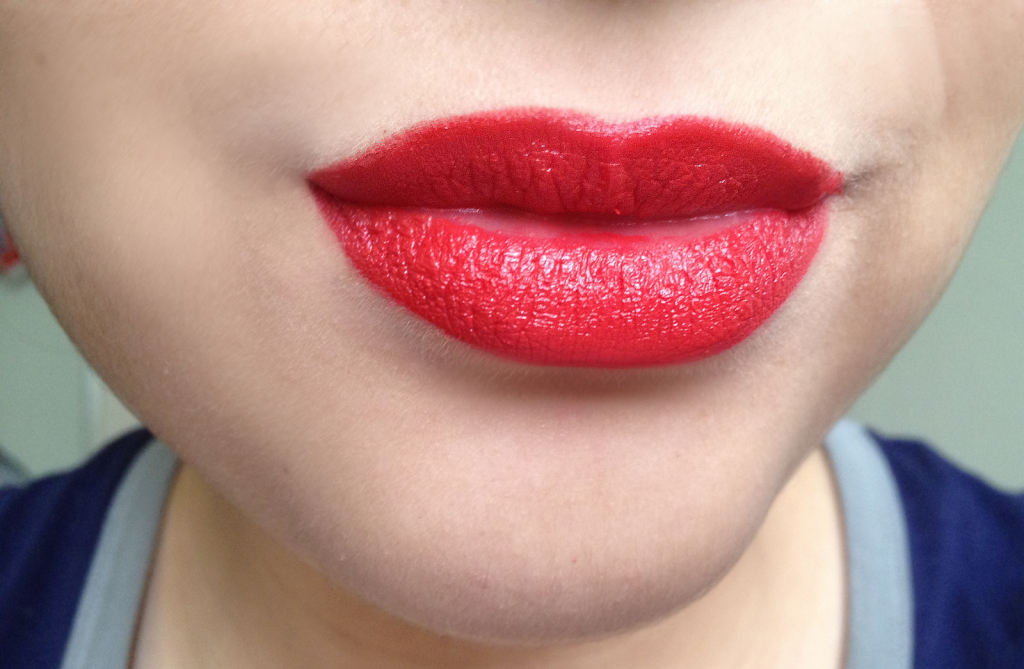
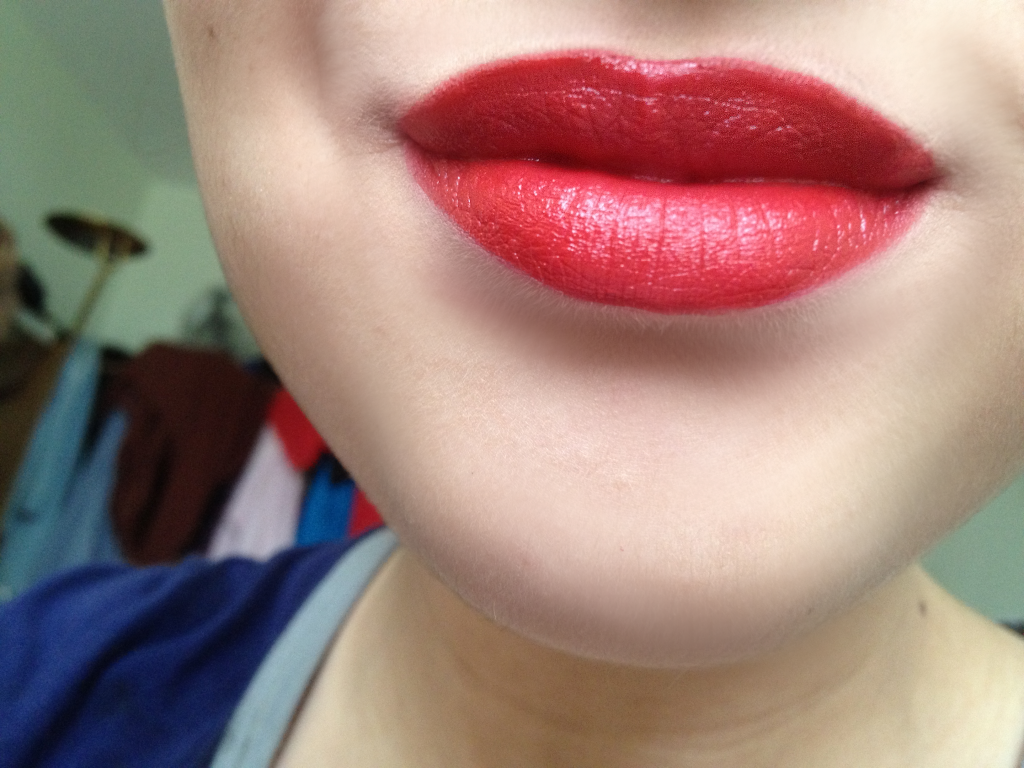
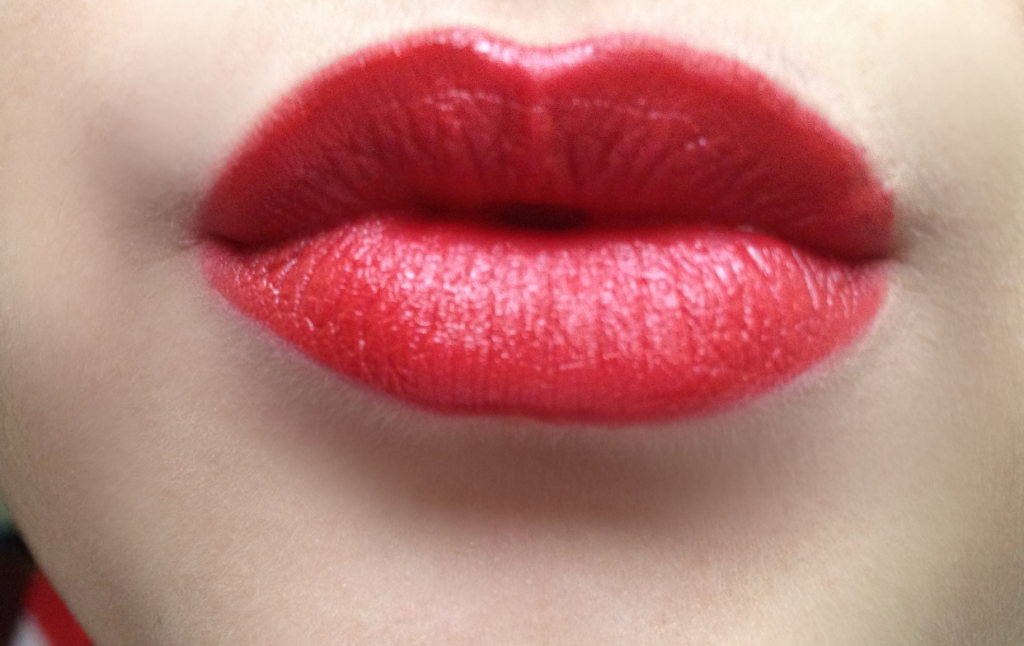
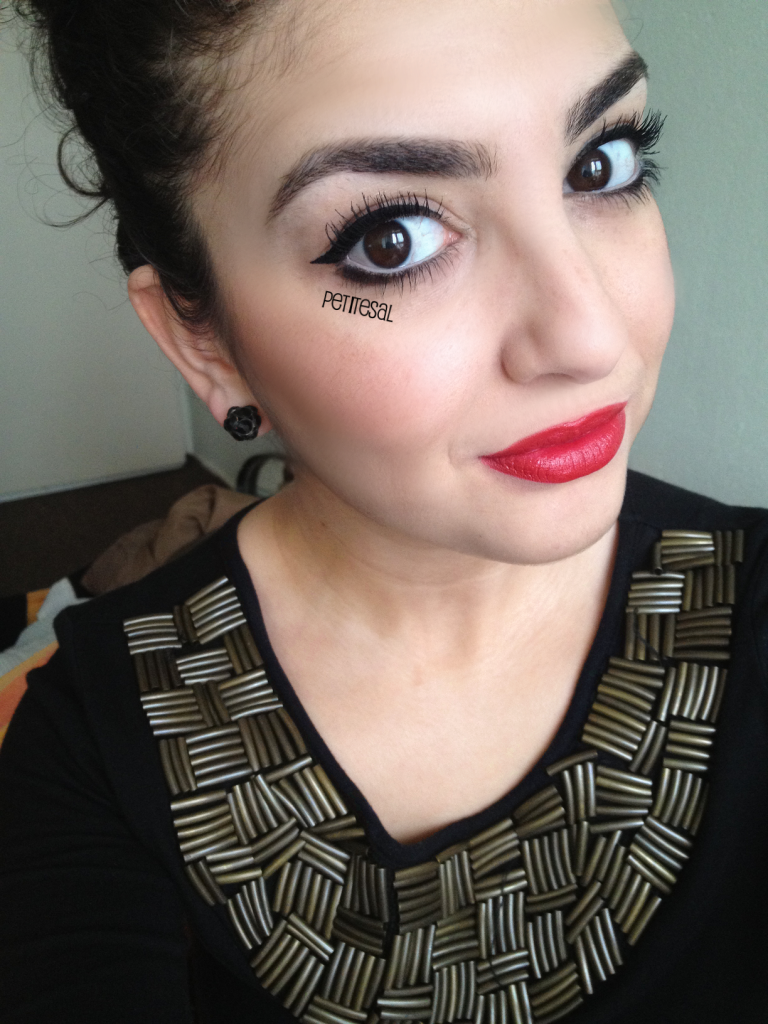
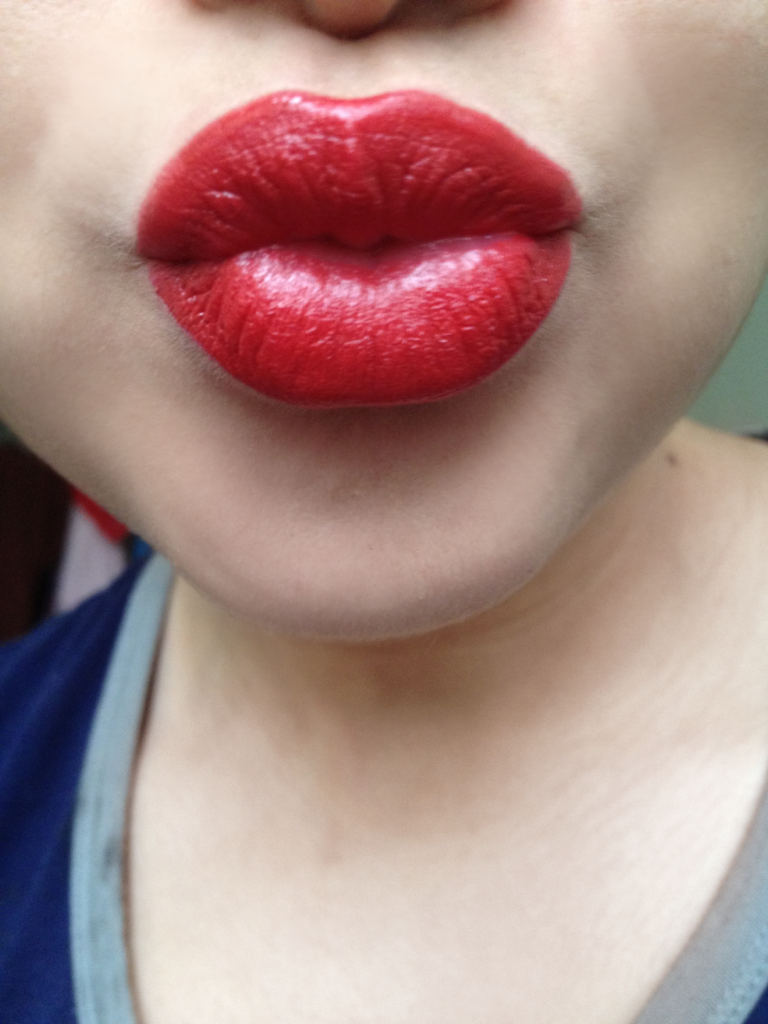
Et voilà! The result! Perfect red lips that last all day! If you look carefully, you can see that I didn't blend the concealer well on my bottom lip on this picture, whoopsie!
It really seems like my camera is letting me down lately! Anyway, another picture of the result.
This is what it looks like with the rest of my makeup!
The lipstick should stay very long, but I'm not sure if it also lasts with a kiss. Go search for that mistletoe and test it! Let me know the results, hihi!
Tomorrow I will post about different looks with red lipstick, so stay tuned if you need some inspiration!
Hope you find the tutorial helpful! If you have any questions, let me know! I'm back on the blog, so I'll get back to you asap!
Enjoy your Christmas Eve!
Enjoy your Christmas Eve!




gorgeous! I think I might wear red lips tomorrow xx
ReplyDeleteThank you! You should! It will look gorgeous with your doll eyes :)
DeleteX
thanks for the tips! :) You're a beauty and this shade looks great on you <3
ReplyDeleteYou're welcome! Awww thank you so much, dear!! <3
Deleteamazing lips!
ReplyDeleteMerry Christmas!! ♥
Thank you! Merry Christmas!! <3
DeleteBeautiful!
ReplyDeleteThank you, sweetheart! X
DeleteWauw.. Dat zijn de perfecte rode lippen die ik heb gezien !
ReplyDeletex
Dank je wel, Sarah! Heel lief van je :) X
DeleteGirl, awesome tutorial!!! I do about 75% of the steps you outlined and some of the other ones are good to know, nice work! Oh and happy holidays ;)
ReplyDeleteThank you! Glad I could show you some new tips! :) And, of course, I'm glad you like the post & tutorial! Thank you, happy holidays to you as well! X
DeleteOMG. this is a totally helpful post! Now I'll be able to wear my red lipstick better! xx
ReplyDeletehttp://thebloggettrie.blogspot.com/
I think your lip scar is pretty :))
ReplyDeleteAnd I though my tutorial for res lips is perfect, yours is better ;)
X
Wauw, super mooi! Het staat je ook goed. Handige tips! Liefs, Kim
ReplyDelete